I adding depth to an image and created a 3D look from a photo. This is another example of a project that can only be realized due to the amazing era we live – thanks to an amazing open source project on GitHub and the pay-as-you-go pricing on AWS.
Follow this post to add a 3D look to your own photos. You’ll need some familiarity with AWS EC2, AWS CloudWatch, and SSH/SCP to log in to your EC2 instance and move files back and forth. It took a lot of experimenting/trying/failing for me to get this project running smoothly. I’ve edited down the most direct path for you to recreate yourself. Post any questions in the comments.
Hardware, well software.
Software is eating the world.
Marc Andreessen
Ten years ago you would have had to buy or build a very expensive computer with a great graphics card(s) to create the 3D effect. In 2020, we lease our computing from AWS (or any public cloud provider of your choice).
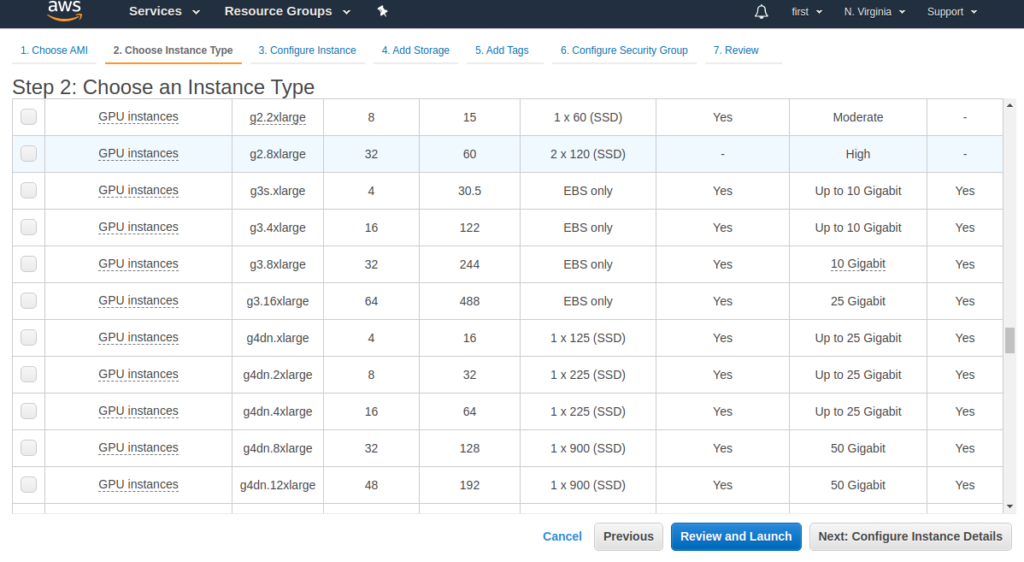
To start, create a new EC2 instance. I used the Deep Learning AMI from AWS and chose an extra large GPU instance (you have to scroll way down to find the GPU choices, so keep scrolling).

3D Photo Inpainting
Download the 3D Photo Inpainting project from GitHub and upload it to your brand new AWS instance. I believe the only dependencies you’ll need to meet are Anaconda and PyTorch. Pay close attention to the argument.yml file as it is a lot of configurations you can tweak. I will spare you from the hours of rendering issues I had due to underpowered and misconfigured EC2 instances.
Upload all the .jpg (not .jpeg unless you update the argument.yml file) photos you want to be converted to the /images directory. The software will kick out the 3D renders as .mp4 files in the /videos photo
Running the Software
We have a few quick config/setup items:
conda create -n 3DP python=3.7 anaconda
conda activate 3DP
pip install -r requirements.txt
conda install pytorch==1.4.0 torchvision==0.5.0 cudatoolkit==10.1.243 -c pytorch
chmod +x download.sh ./download.sh
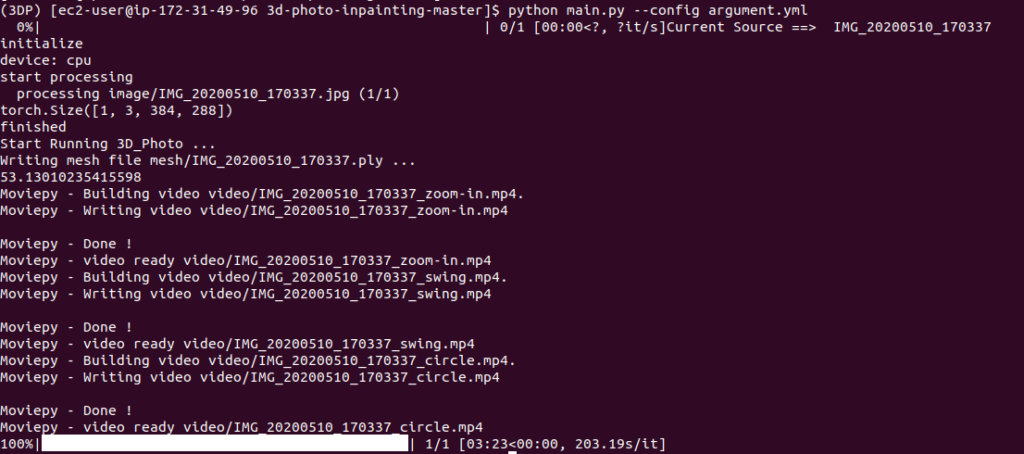
Then a few basic commands are all you need to get running: conda activate 3d and then python main.py --config argument.yml
The results speak for themselves – really amazing.
So what’s happening here?
We use a Layered Depth Image with explicit pixel connectivity as underlying representation, and present a learning-based inpainting model that iteratively synthesizes new local color-and-depth content into the occluded region in a spatial context-aware manner. The resulting 3D photos can be efficiently rendered with motion parallax using standard graphics engines. We validate the effectiveness of our method on a wide range of challenging everyday scenes and show fewer artifacts when compared with the state-of-the-arts.
Saving Money
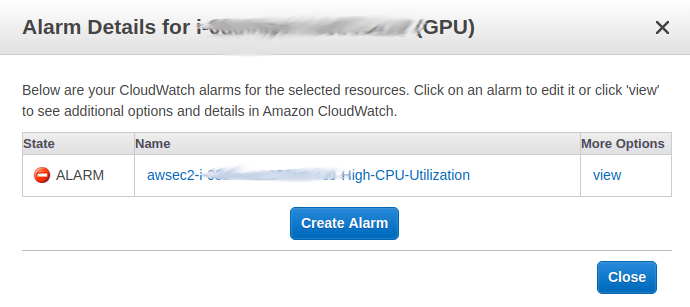
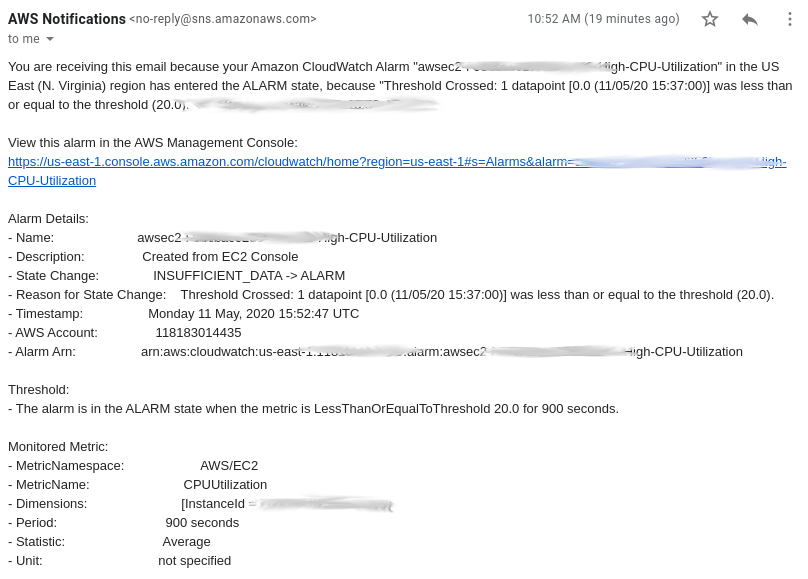
We definitely need to customize AWS to avoid this project costing us a lot of money in unused AWS EC2 run time. Remember, we’re not on the free tier with an extra large GPU intensive Machine Learning Instance. So, let’s add a CloudWatch rule and alert that shuts down our instance if the CPU is idle for 900 seconds (15 minutes).
Cost Details
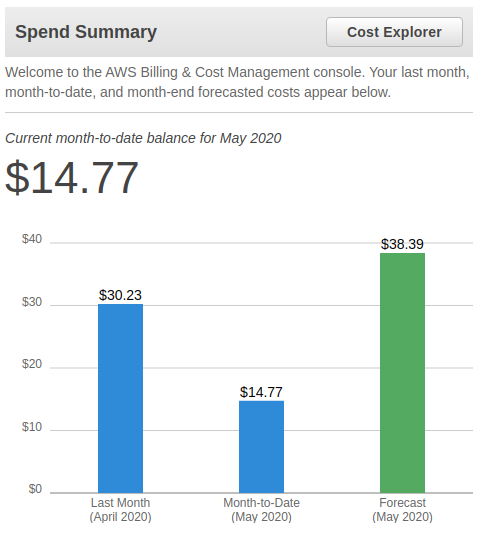
This is going to cost me how much?! Not much, actually — probably less than $0.25 per image. As a best practice, we should shut down our unused appliances in AWS.

Thank you
Thank you to the four creators of this project: Meng-Li Shih, Shih-Yang Su, Johannes Kopf ,and Jia-Bin Huang. Very cool.